Review - 42099 - 4x4 X-Treme Off-Roader
Review


REVIEW - 42099 - 4X4 X-TREME OFF-ROADER

INTRODUCTION
First of all, I like to thank the wonderful Eurobricks community for reinvigorating my interest in doing reviews. My motivation slowly dwindled up to a point where I considered quitting writing reviews altogether. But here we are again, with a lengthy review of the 4x4 X-Treme Off-Roader with the new Control+ elements. As a bonus I have added a section where I show you the unofficial B-Model made by @Didumos69.
When it comes to Control+ I am a bit late to the party, because upon opening the box, it was literally the first time I laid eyes on the new Control+ parts. I haven't had the chance to test or even see these new parts. Therefore, it's exciting for me to write this review and see what the fuss is all about. Of course, I have seen several video reviews, and some of them were very entertaining. RacingBrick made one of my favorites. I recommend checking it out. You can't go wrong with Sariel's review either, and his comparison with the 9398 - 4x4 Crawler from 2012. And if you haven't had enough of the videos, make sure to watch Zerobrick's review.
Before we continue, I need to state that I like progress. I love new technologies. I'm not the kind of guy who wants to keep watching movies on VHS and rocking the good old TDK's. However, when a new technology emerges, most of the time, it's because the new technology offers a significant improvement over the soon-to-be-obsolete technology. In this case, the latter is the Power Functions system, first released in the 8275 - Motorized Bulldozer set from 2007. The main question of this review is whether the new Control+ is worth the money and offers a significant improvement over Power Functions.
For this review, I used an iPhone 8 running iOS 13 something.
PICTURES
Pictures can be clicked to view hi-res versions. My Flickr album contains all the photos taken for this review.
DISCLAIMER
The CEE Team of TLG has provided this set. It's not my goal to promote this set. It's my goal to give you an honest opinion about it. Therefore, the opinion in this review is my own and is in no way linked to TLG.
SET INFORMATION
Number: 42099
Title: 4x4 X-Treme Off-Roader
Theme: Technic
Released: 2019
Part Count: 4108
Box Dimensions: 0 x 0 x 0 cm (forgot to measure, oops)
Weight: 6451gr
Set Price (RRP): £ 199.99 / $ 249.99 / € 229,99
Price per Part: £ 0.209 / $ 0.261 / € 0.240
Links: Brickset, Bricklink
THE BOX
The limited part count results in the box being reasonably small. The bottom right corner of the box shows the new LEGO Technic Control+ logo and smart device. There is a message stating that a smart device is required, but I wonder if this message should have been somewhat more prominent. Or is it safe to assume that people scrutinize the box before forking out this amount of cash? On the other hand, people easily paying this amount of money will most likely have a smart device anyway.

The back of the box shows the standard driving functions, together with a summary of what Control+ can do.

Compared to the Land Rover, the box is quite a bit smaller. Yet the price is higher. Those Control+ parts don't come cheap. The Land Rover costs 180 euros, while the Off-Roader costs 230 euros, with a respective part count of 2573 and 958. For 50 euros less, you get around 1500 parts more, but you don't get the Control+ elements. Comparing these sets is comparing apples and oranges, so I'm not sure whether we need to draw conclusions based on this comparison.
What I do find odd is that the Liebherr costs around 450 euros, but it does have 4108 parts and 7 Control+ motors and 2 Control+ hubs. When you look at the price of the Off-Roader, it's safe to assume that the Control+ elements add around 100 euros. The Liebherr has over twice the Control+ elements, which results in approximately 200 euros of Control+ in that set. That almost makes up half of the set price. Even though the Liebherr is quite expensive, you do seem to get more value for money.

CONTENTS OF THE BOX
Opening the box and throwing the content on the table has seldomly felt more underwhelming. Only six bags comprising the parts for this set, not counting the bag with rims.

The box contains:
- 1x Instruction manual
- 1x Sticker sheet
- 4x Tire
- 1x Bag with 4 rims
- 6x Numbered bag with parts
- 1x Box with Control+ parts
INSTRUCTION MANUAL


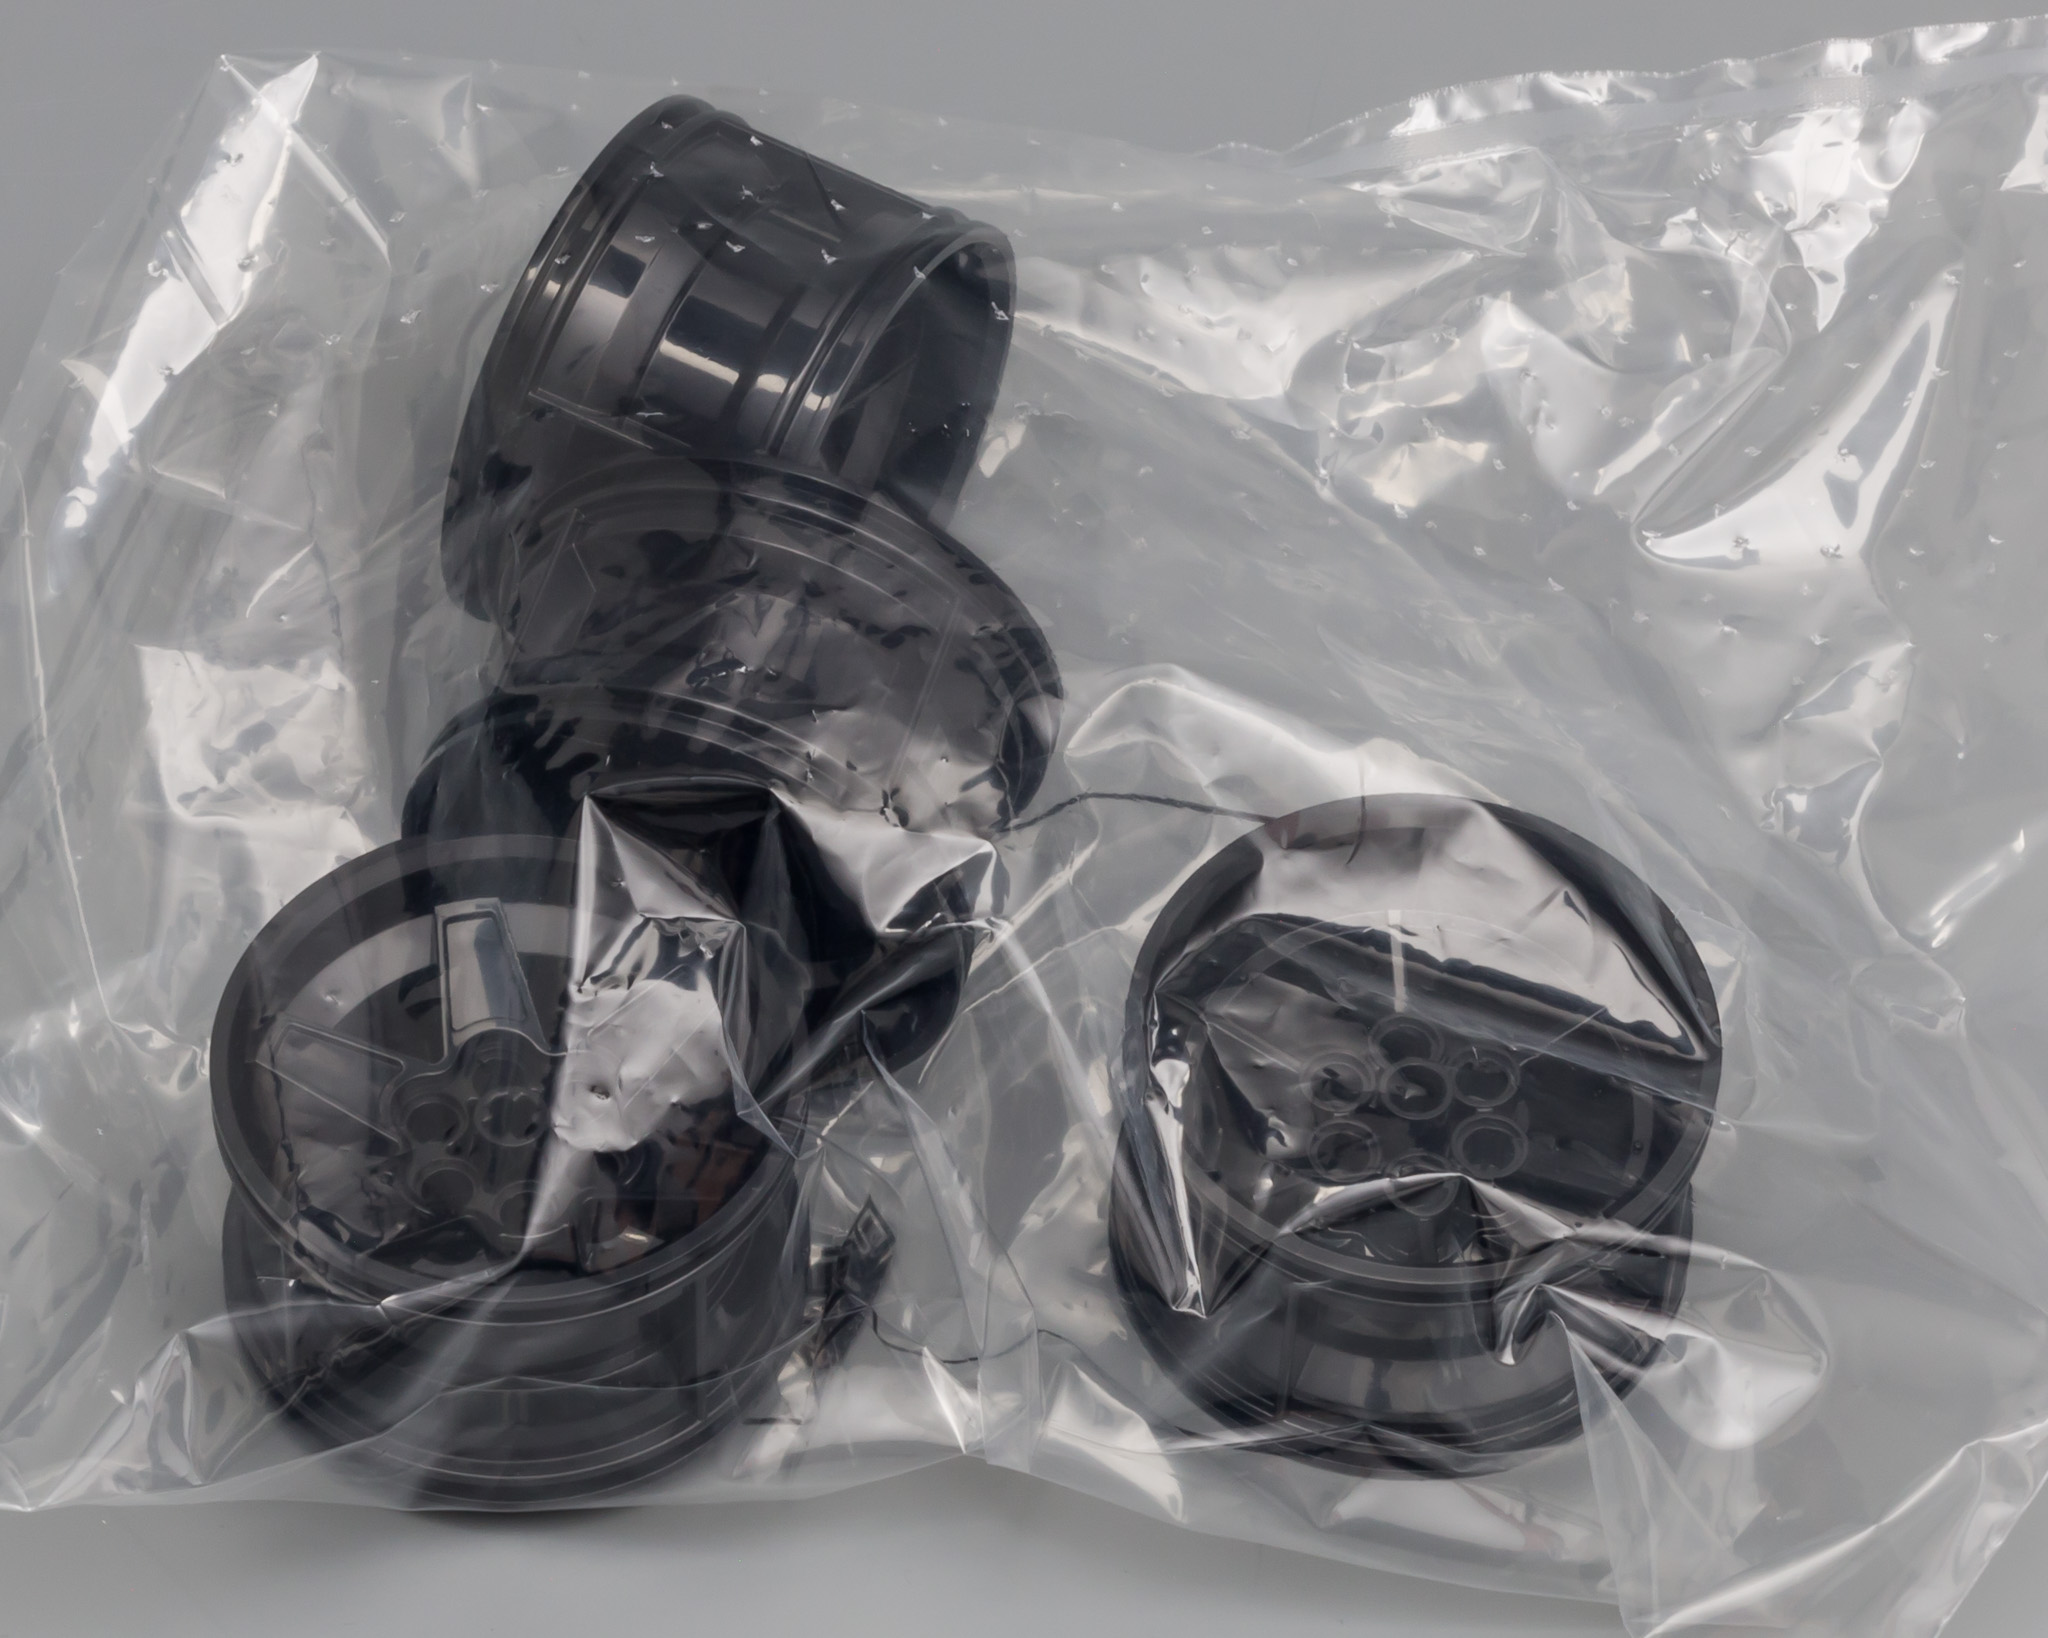
RIMS
Four commonly found rims.

TIRES
Four "Claas" tires to match the four rims, what a coincidence. This set is already the fifth set containing these tires. Your mileage may vary, but I am still deeply in love with these tires. TLG nailed this tire. Let's hope the rumored Mini Xerion will use a smaller version of this tire (edit: unfortunately, it does not).

CONTROL+
The smaller inner box contains the Control+ hub and motors. The box did take some damage in transit.

This set contains the mandatory hub and three motors, one L and two XL. The two designations make you wonder whether we will get different versions in the future. Looking at the L motor, I can't imagine getting a smaller M version. It could be shorter than the L, but I don't see that happening.

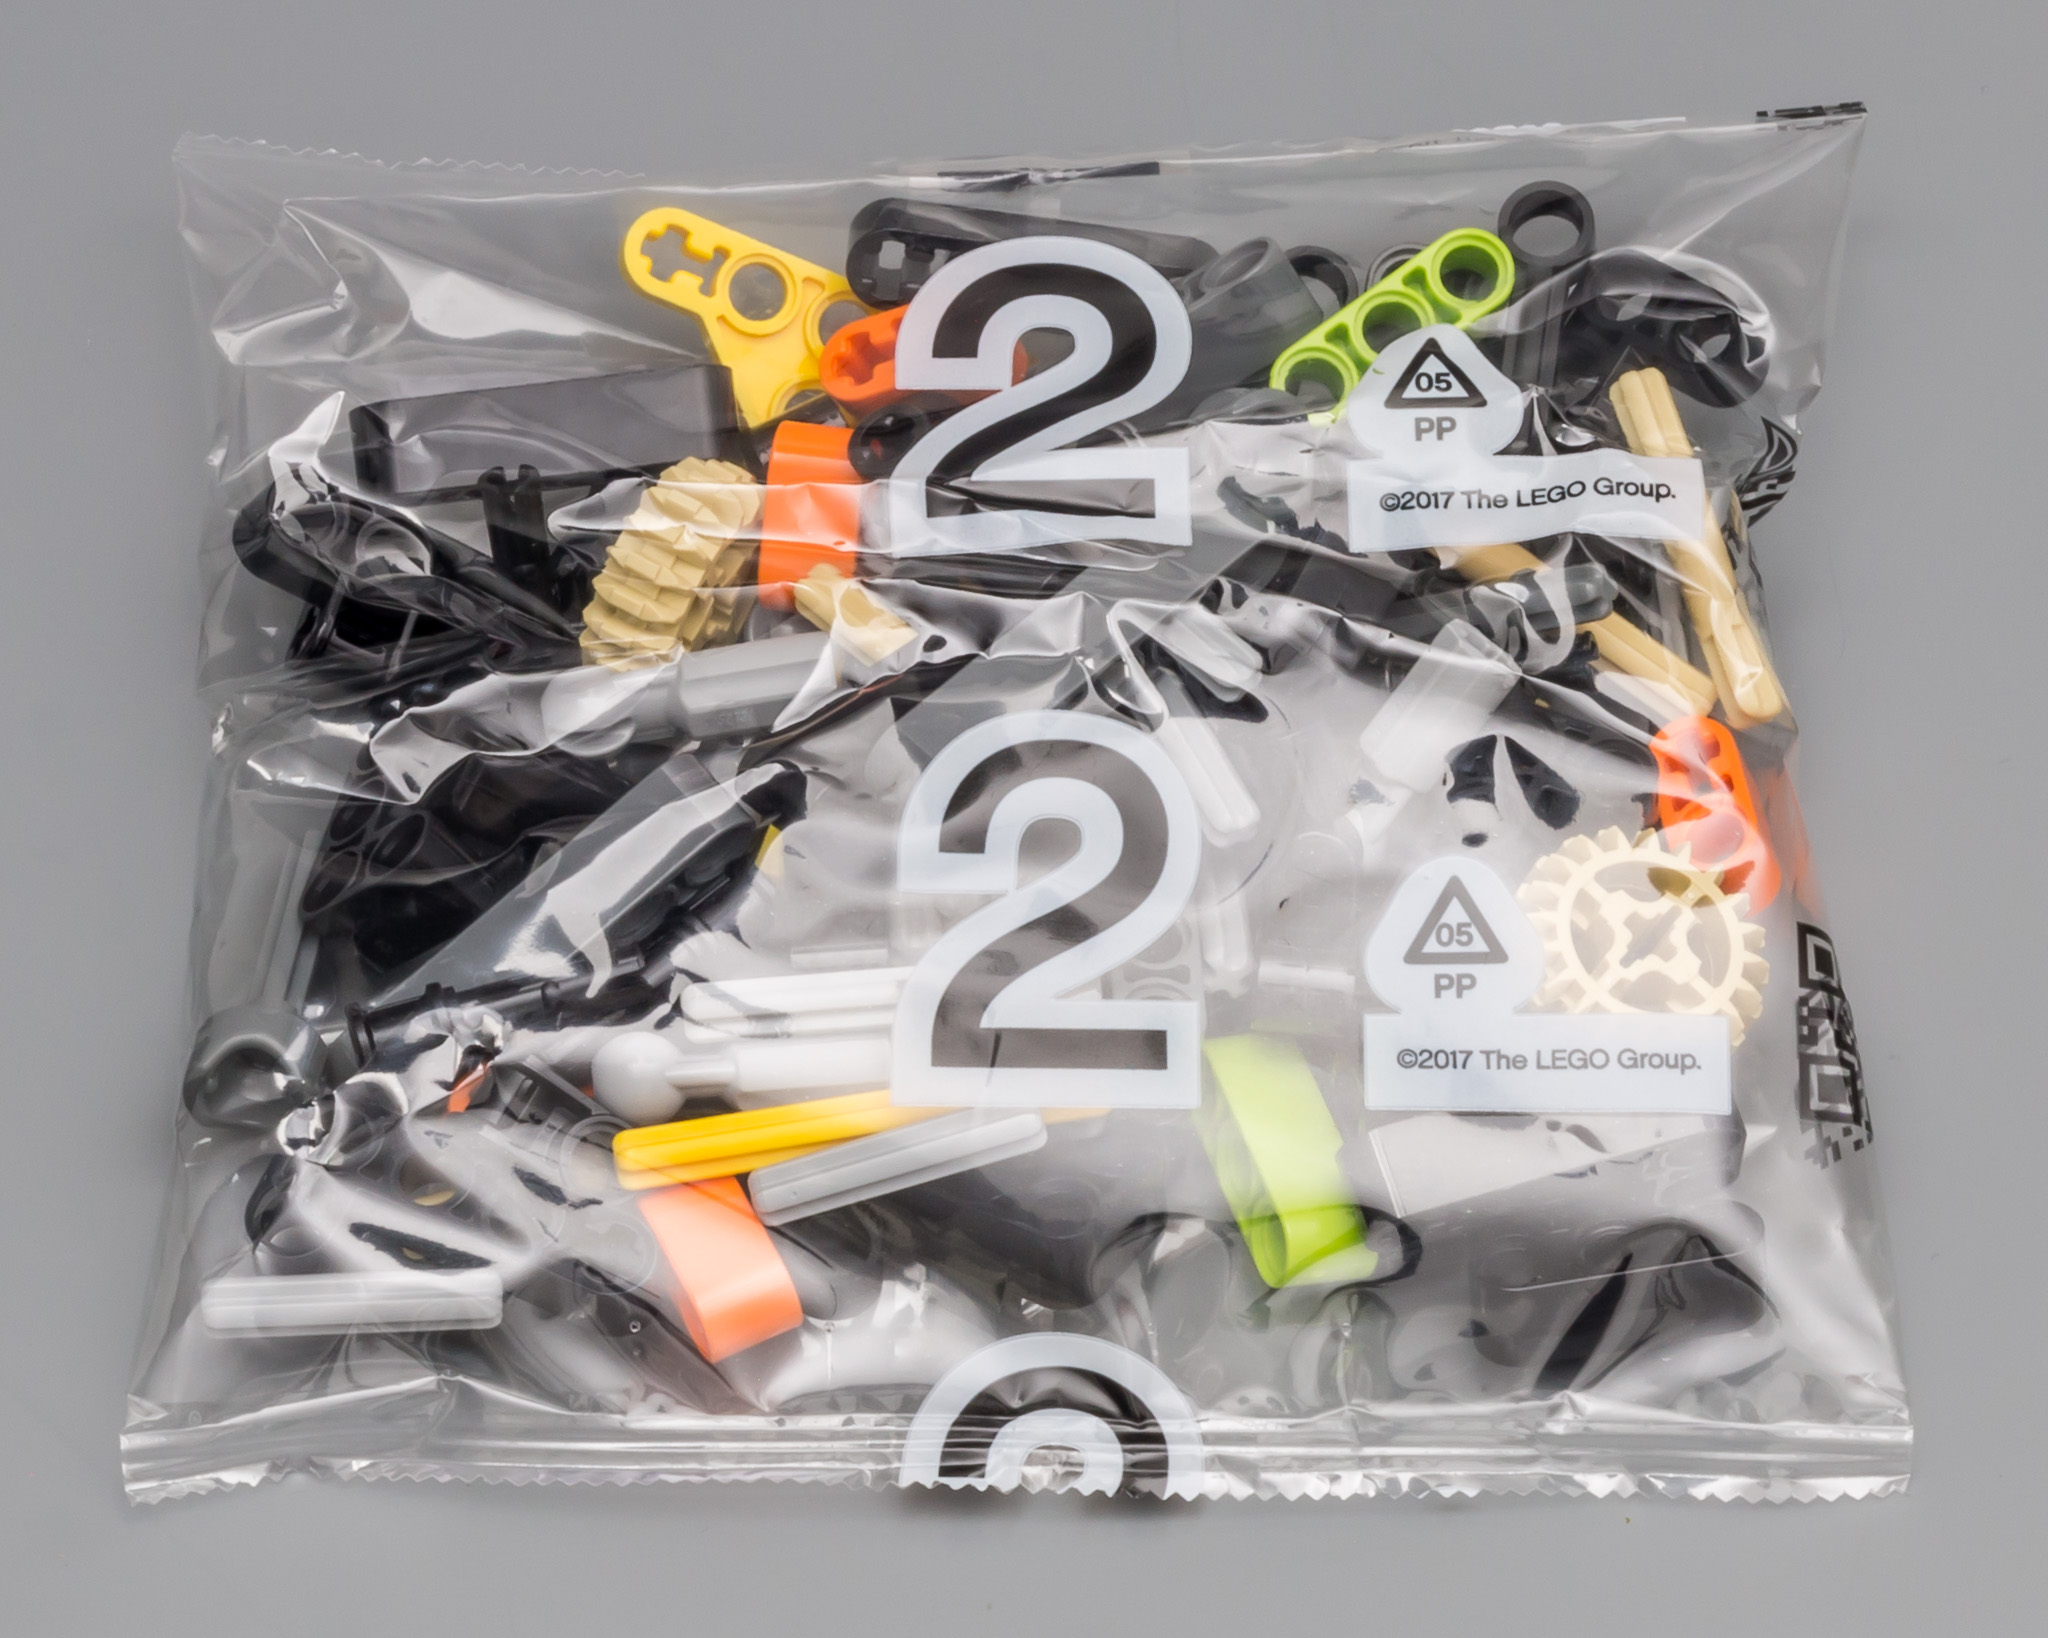
BAGS
Six numbered bags and a bag with rims.


HIGHLIGHTED PARTS
This section describes interesting parts, and it won't come as a surprise that I will start with the Control+ parts.
POWERED UP BLUETOOTH HUB
According to Bricklink the name of the hub is Powered Up Bluetooth Hub, which confirms that this element is part of the Powered Up family. TLG calls it the "Bluetooth controlled smart hub". There's no denying that the hub is rather big. I have seen numerous complaints about the size, but the unit does pack the batteries, motor inputs and the electronics for extra functionality. The number of attachment points is limited, which might be more limiting than the size.
Size: 9 x 9 x 5


XL MOTOR
The XL Motor looks like a low-resolution pixelated version of the PF XL motor. If I recall correctly, lots of Technic fans were surprised by this sudden change in shape. I will discuss the form factor in more detail later in this review, but I can already reveal that I am a big fan, and that's an understatement. Comparing this XL motor with the PF version, the sheer number of attachment points is incredible.
Size: 8 x 5 x 5


L MOTOR
The L Motor is what it is. A motor with a slightly smaller footprint, but with less torque and a higher RPM. For more details about torque or RPM, I recommend visiting Philo's excellent page about LEGO motors. A limited number of pinholes, but enough to be able to mount it easily.
Size: 8 x 3 x 3 (top and bottom are slightly larger than 3 units in the center)


BRIGHT LIGHT ORANGE
Out of the blue, TLG introduced a new shade of orange. And by out of the blue I mean that there is no obvious reason for this color, unlike the green variant for the Land Rover Defender. The only reason I can imagine is that regular yellow is too bright and orange is too....orange. I really like this new shade and I assume we will see more of it in the near future. Will this be the new dark azure? :wink:

CONNECTOR BLOCK
When we saw this new part most of us were convinced it was an April Fool's joke. It turned out to be a legit part. After that, I wondered whether we needed this part. Having used it a couple of times, this part is turning out to be one of my new favorites.

CV JOINTS
The new CV Joint Ball and CV Joint Axle are compatible with the new planetary gear hubs. I'm not sure whether these new designs will entirely replace the old CV Joint Axle and CV Joint, but I reckon they will be used in new heavier RC models. I' wonder if these will be used in the new Lamborghini, most likely with new hubs.

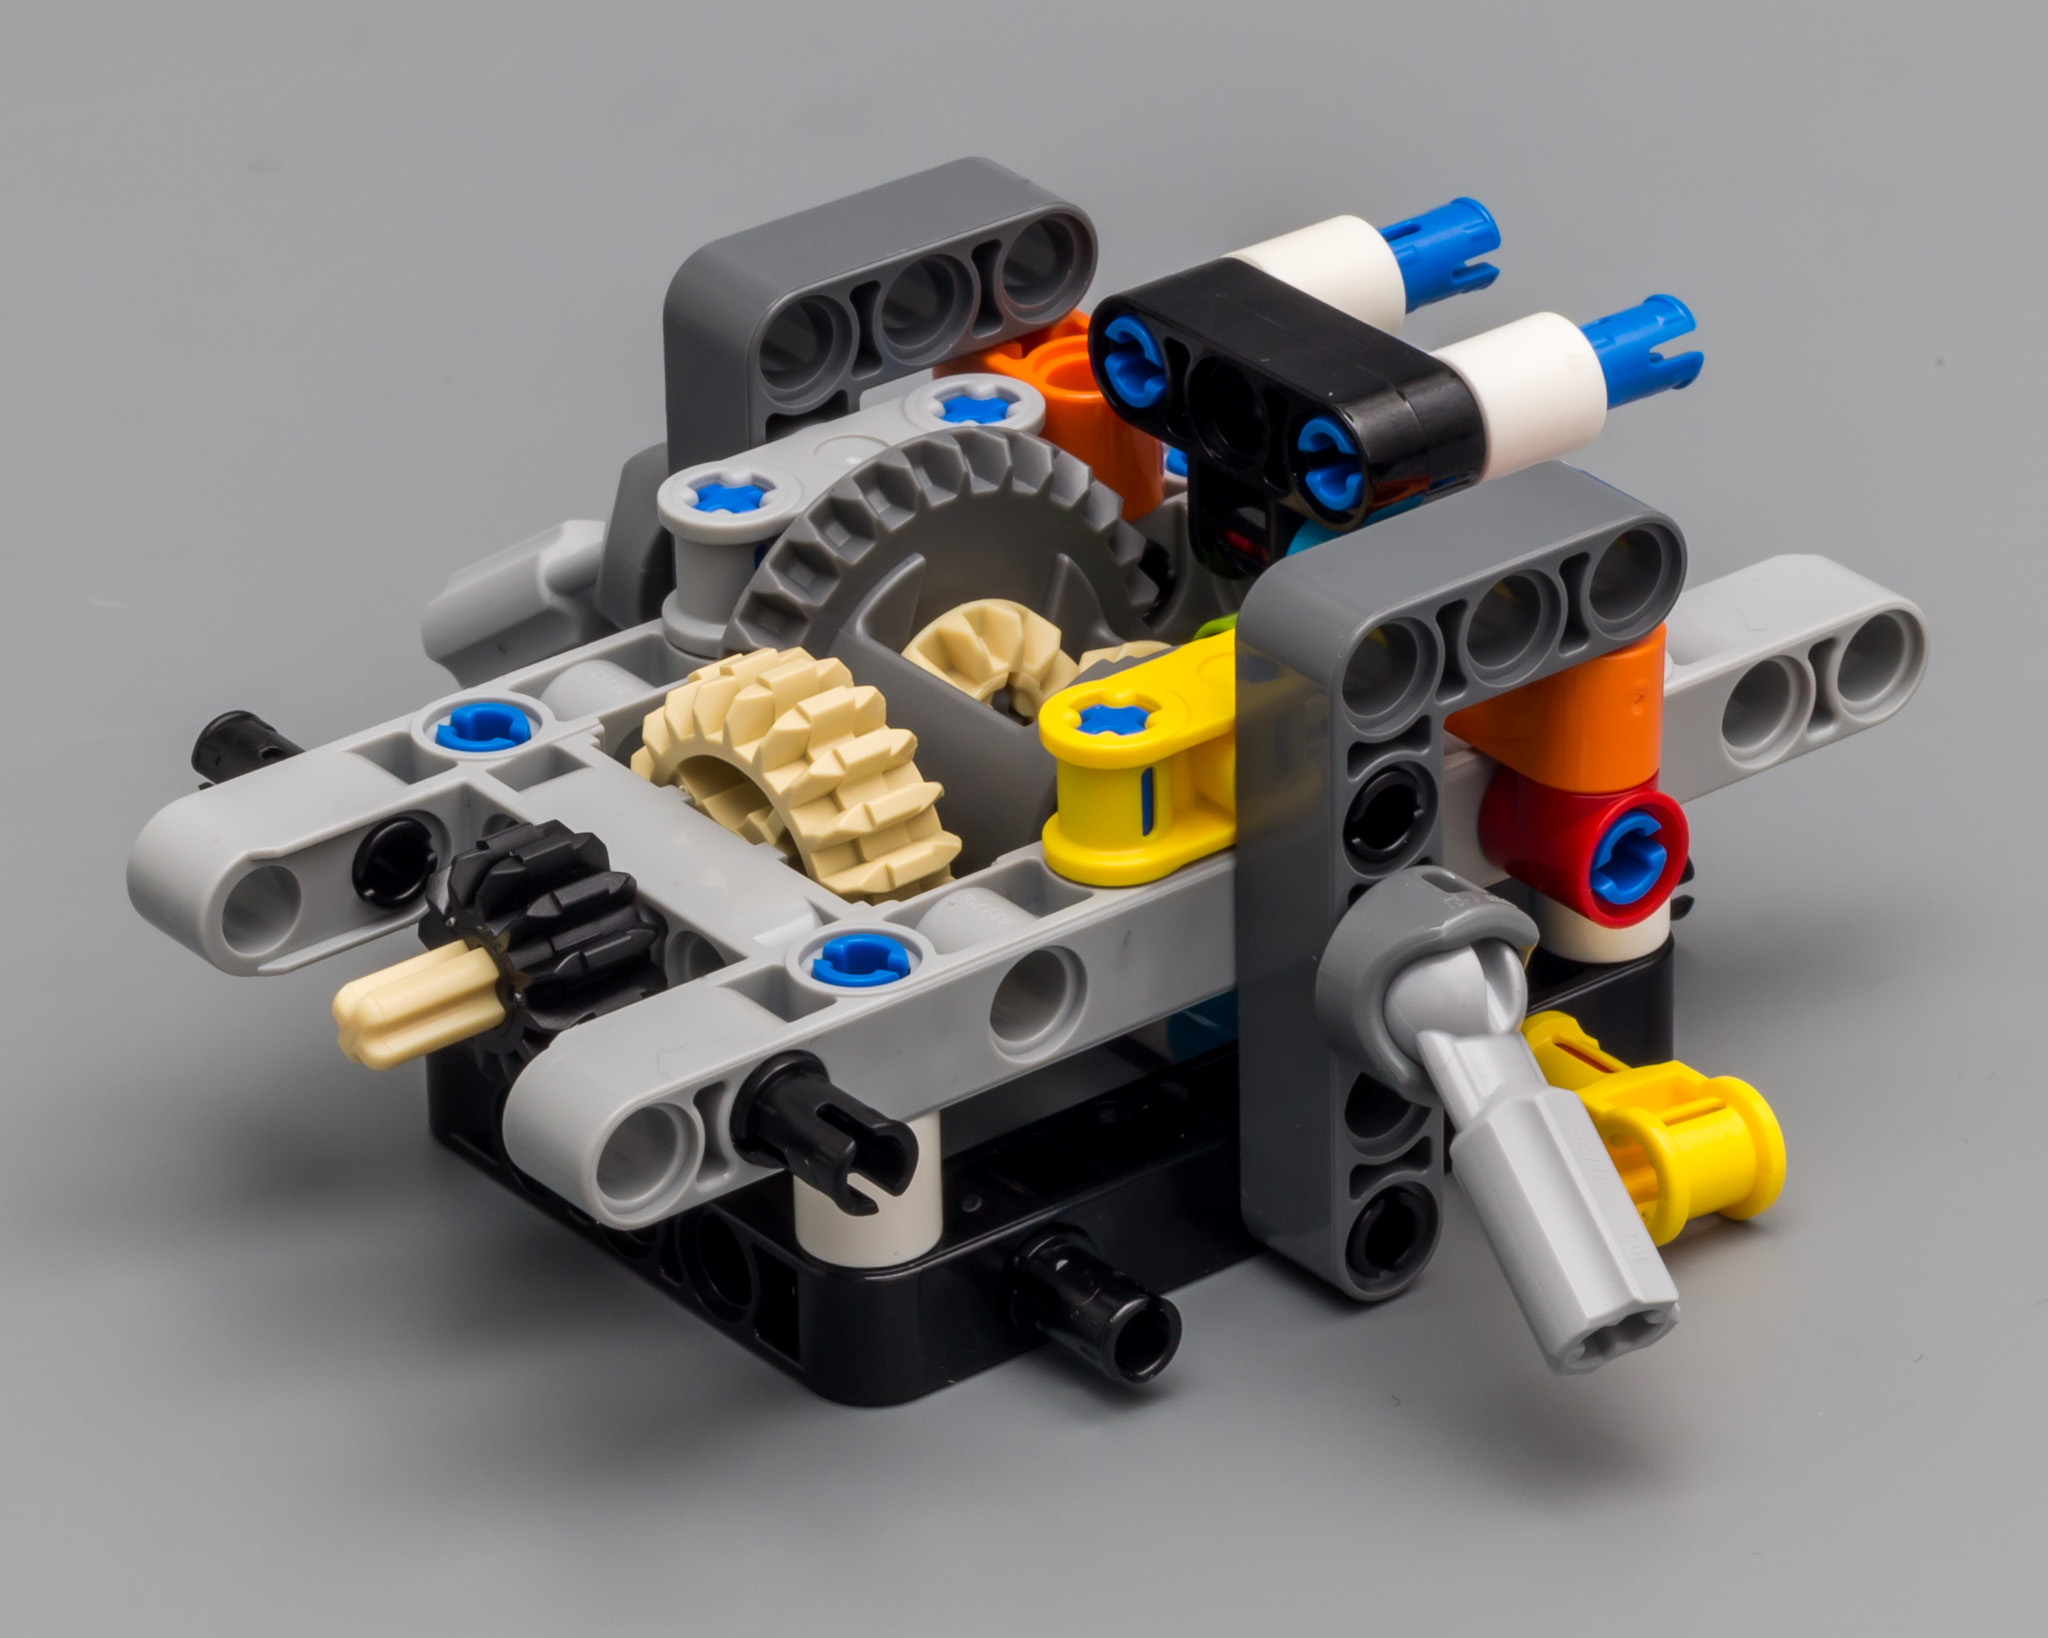
PLANETARY GEAR HUBS
The new Planetary Gear Hub is something AFOLs have been asking for, for quite some time. And TLG finally released them. They are not really suited for regular cars, but they are perfect for crawlers or heavy machinery.

Here's a picture of the "complete assembly".

WIRE CONNECTORS
These new Wire Connectors are used to indicated which wire needs to be attached to a certain port on the hub. These little babies are nothing short of spectacular. So simple, yet so effective. I love 'em.

TURNTABLES
These turntables are definitely not new, but I felt like highlighting them anyway. This design is way better than the old one.

COLORED PARTS
If you don't need color in your life, or in the chassis for that matter, these are the parts you need to swap. Please, be aware that I missed a blue Pin with Pin Hole, so you need to swap four instead of three. And you need to swap the 3L Perpendicular Connector for a light bluish grey one.

Not that's it is necessary, but if you want to get rid of the white parts too, these are the ones you need to replace.

PART LIST
A total of 958 parts.


CONTROL+
Before I started the build, I tested the new Control+ elements. Please make sure to use six AA-batteries. It's quite easy to make the mistake of only using three batteries. You need to pull out the inner section so you can put in three batteries on the opposite side of the first three. Hook up the two XL motors to port A and B and attach the L motor to port C. Turn on the unit, fire up the Control+ app, and you are good to go. A simple wizard will take you through some simple introductory steps to get you started.
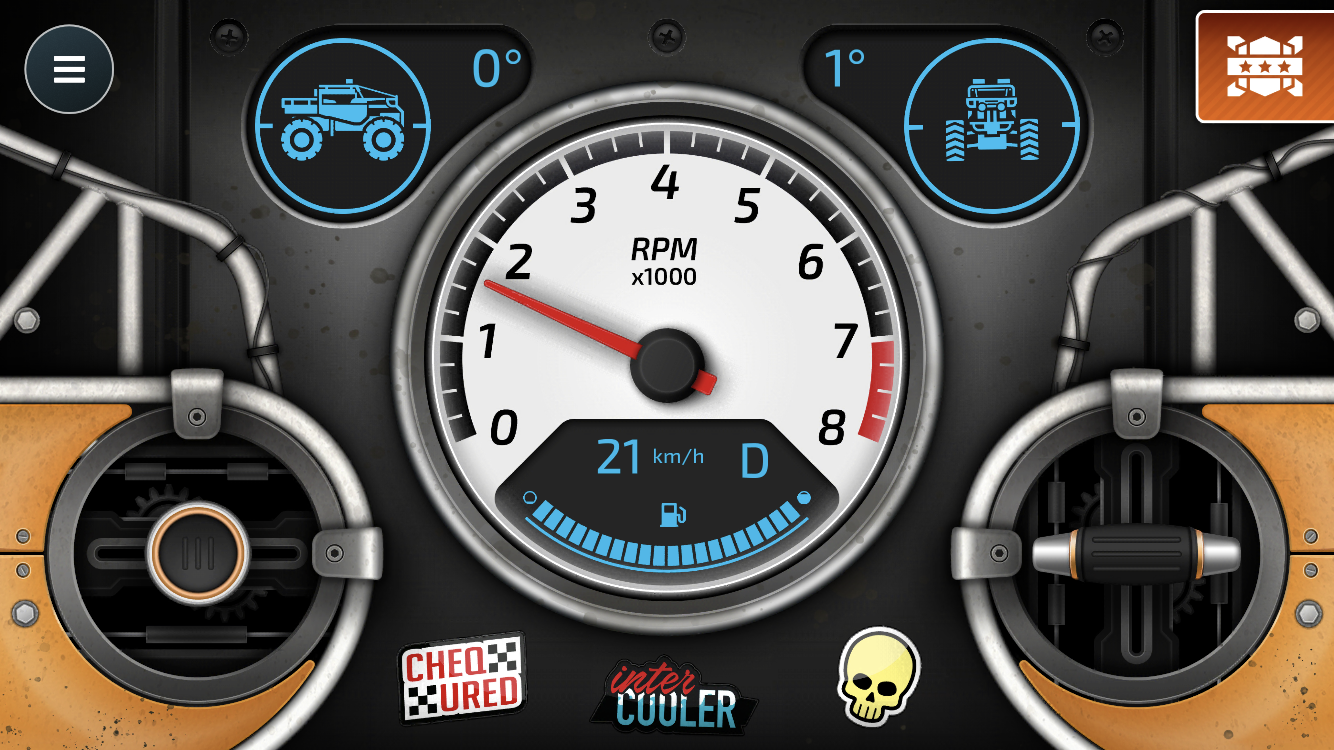
Turning the Control+ unit results in changing values in the corresponding tilt/pitch and roll meters. While there isn't much more to it (yet), it is a cool feature. The app also registers the "yaw" by the way.

THE BUILD
When I started the build, I planned on swapping the colored parts for black and grey elements. I even started the build with replacement parts. However, this being a review for an official set, it didn't feel right to start modding right away. Some members confirmed this, so I decided to start over, using the original parts. Since I already had built the front suspension, I can show you a comparison.
In the left picture, you see the version with replaced parts. The right picture shows the original version.

The picture below shows the front suspension with gray and black replacements.

The original front suspension contains a lot more color. While some consider this color vomit, which it basically is, I do appreciate color in the chassis. It makes the chassis look less dull. That being said, I don't think that using orange was the right choice. Orange doesn't work well with bright light orange. Adding some more red, or blue for that matter, would have worked better in my opinion. TLG uses these orange 2L liftarms fairly regular, so it's not a big surprise though.

This step ignited my love for the new motors. The new form factor of this motor is so much better than its Power Function counterpart. Not only does this version have more pinholes, but it can also be used to enhance structural integrity. The 5x5 total width and height and the 3x3 "protrusion" allow for perfect integration in a Technic chassis.

With all the talk about the new Control+ parts, one would almost forget to mention another special part in this set, the new planetary hub. This new hub is roughly geared down 1:5. So for five rotations of the powering axle, the wheel will do a single full rotation. It's very cool that TLG is actually releasing these kinds of parts. It shows that they are constantly improving and maturing the Technic product line.

The smaller of the two motors can also be mounted perfectly, even in smaller cars. These new motors are shaped to perfection. It almost makes you wonder why TLG chose round ones when they released the Power Functions system.

Attaching the two sub-assemblies results in the, more or less, completed front suspension. The two motors fit in nicely and they both add rigidity to the model. The shape of the chassis doesn't need alteration to accommodate the motors.

The big turntable mounted at the front allows the front suspension to rotate freely. The bodywork will be attached at a later stage.
The rear suspension doesn't have steering, so it's built differently.

This sub-assembly doesn't contain as much color as the front one, but you can still see some yellow and orange.

The other XL-motor is mounted the same way as in the front suspension.

Due to the lack of steering, there's no L-motor and the rear suspension is a bit shorter than the front one.


The turntable is placed inside, instead of outside.

The chassis is almost complete after combining the front and rear suspension.

And yes, I forgot to mount the shock absorbers. I was too busy with routing the wires that I didn't even notice this when I took the picture.

The smart hub is mounted behind the seats. The wire connectors are a welcome addition. Not only do they provide a way to attach the wires to the chassis, but the color-coding allows for easy identification. Job well done!

Building the chassis was fun and the final assembly feels rigid enough to take some beating.

It's hard to resist mounting the wheels before the end of the build, so that's what I did. Eager to try out the new Control+ app, I turned on the smart hub and everything worked smoothly. The suspension test also turned out the be successful. Even though the same shock absorbers are used, the front suspension feels less stiff than the rear one.

Time to build the bodywork. Aaaaaand it's done! Usually, I always apply the stickers when I review a set. This time I decided to omit the stickers to see how the model looks. And you know what, it looks awesome. The bodywork looks phenomenal and doesn't need stickers at all.

Being able to easily attach and detach the bodywork is a big plus. If you don't like it, it's very easy to create your own version. Or the same body, using a different color, which I will show you in a bit.

The on/off button can easily be reached and the wires are routed nicely behind the liftarms.

Maybe I missed two black pins, but these look like the usual leftover parts.

COMPLETED MODEL
I absolutely love the though look of this crawler and I like the fact that this model doesn't need stickers for its appeal. I have said it before, but TLG hit it out of the park when they designed these tires.

Various bars protect the car from being damaged when it rolls over.

The bed of the crawler has ample space to place the battery box. It's very easy to replace the batteries.

The front and rear view don't look particularly appealing, but being a crawler, that's what you expect.

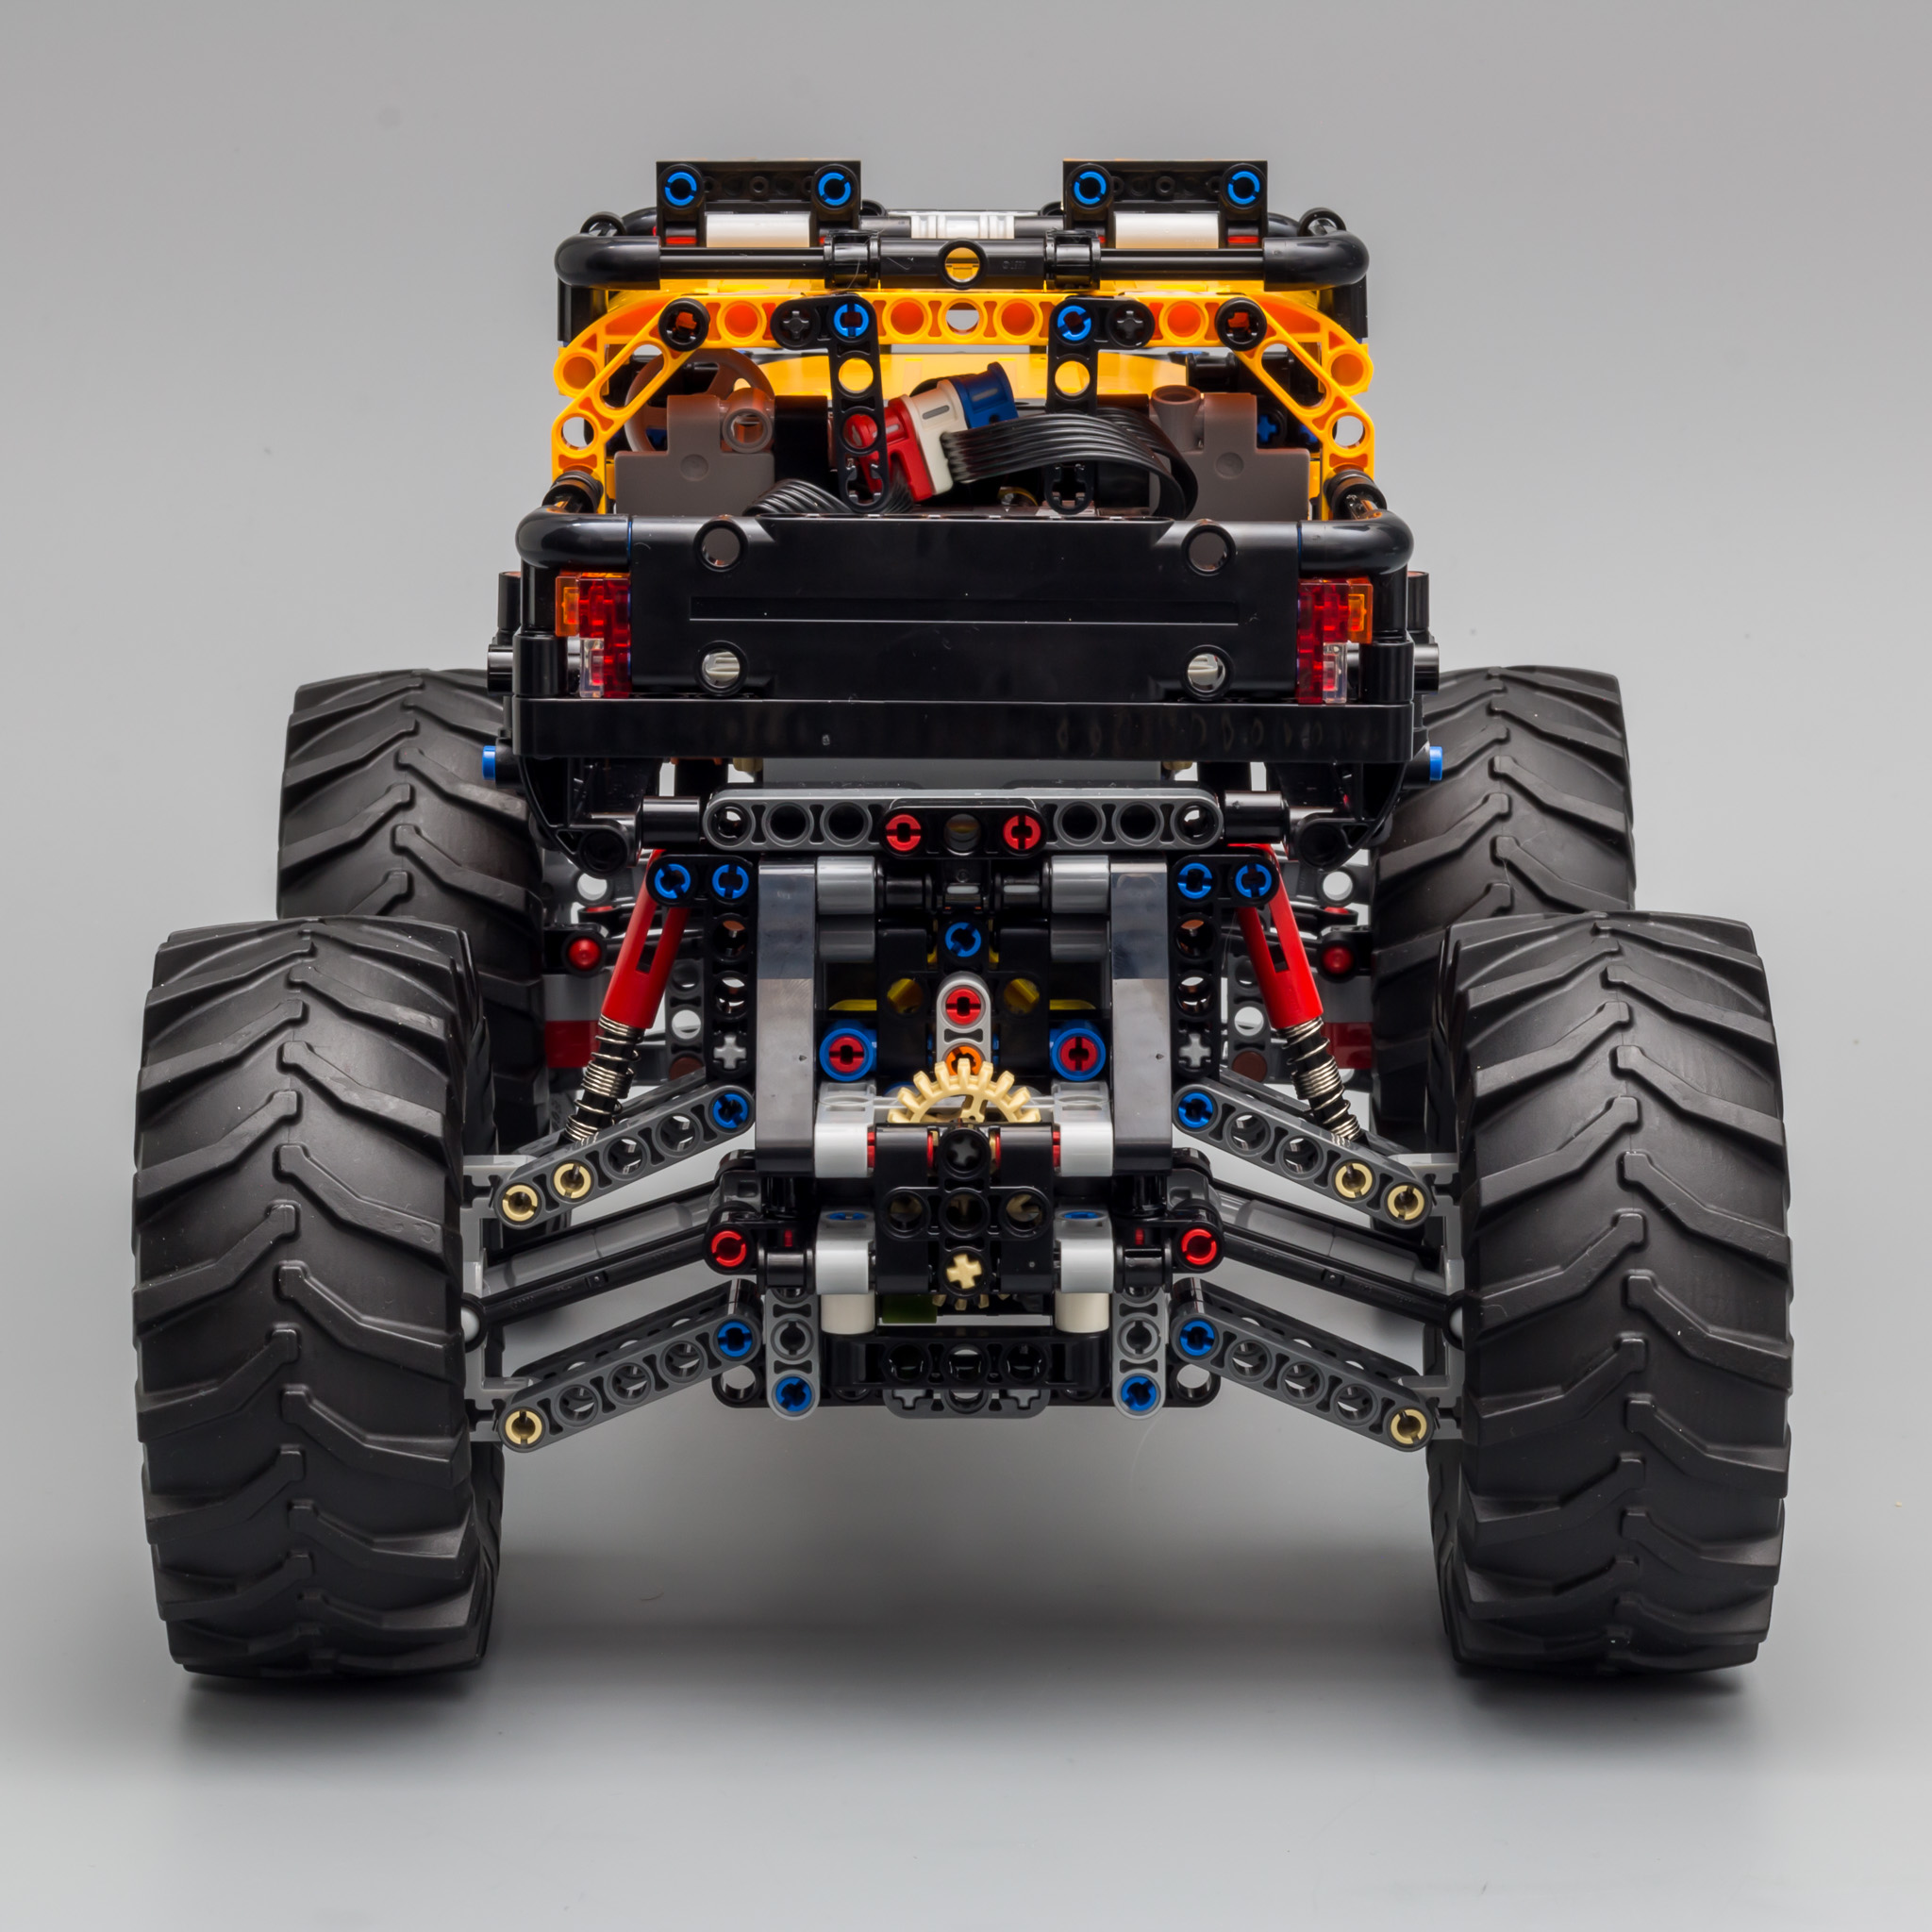
Another front view pic from a different angle.

And a rear view one.

The bottom view shows the suspension and motor placement.

ALTERNATE BODYWORK
Since it's very easy to swap the bodywork, I decided to create a white-and-black version. The original colors works very well for me, but this combination isn't too shabby either.

Maybe we can reinvigorate the Eurobricks Car Chassis project and design some cool detacheable bodyworks like this one.

Here are some pictures with the white body attached to the chassis.


CONTROL+ VS POWER FUNCTIONS
The main question we need to address is the new Control+ system. How does the new kid on the block stand up to good old Power Functions.
HUB
The hub is rather bulky, but it does include all the batteries. Since Control+ isn't using IR to communicate, you can place the hub somewhere in the chassis. Of course, you do need to think about an option to detach the hub from the chassis to replace the batteries. Unfortunately, the Control+ hub still uses batteries, instead of an internal rechargeable battery. For all my EV3 units I purchased the rechargeable battery, which makes it very convenient to simply plug in a USB cable and charge the unit. I sure hope TLG will provide options for this in the future. Of course there are (and will be more) third party solutions, but I'm talking about a solution for the purists.
MOTORS
I cannot express enough love for the form factor of the motors. I highly doubt TLG will ever top this design (we will read this statement in ten years and laugh out loud). Using the motors to provide extra structural rigidity is very convenient. And the motors do nicely fit in a 5x5 chassis assembly.
I was hoping for a bit more torque and speed. In other words; I was hoping that Control+ would bring a significant performance upgrade compared to PF, but unfortunately that is not the case.
CONNECTIVITY
Using Bluetooth over Infrared does provide a wider range of options. And it's less prone to communication issues (like IR has in the sun). That feels like a step forward.
"But what happens when TLG doesn't support the apps anymore?" and "I don't like to give my kids a smart device to control LEGO sets. Can't I use a regular remote?" These are very valid questions. I am not opposed to using a smart phone to control these vehicles, but I would love to be able to choose between a smart phone and a regular remote, like the PF one. Hopefully TLG will provide better support for physical remotes, like the one used in the new train sets. And for TLG not supporting the apps anymore; by the time TLG drops support for the Control+ app there will be loads of third party alternatives. Therefore, I am not afraid that we can't use Control+ anymore in a decade or two.
MOCs
For now, I do think that Control+ is lacking in one department and that's the MOC-ing department. When you design your own creation, you aren't very flexible when it comes to controlling the model. You basically need to use an existing Control+ profile in the app. I started creating a Control+ chassis for the 42039 and I soon found out that one of my motors needed to turn counter-clock-wise. There is no way I can change this in the app. This will hopefully change in the future, when TLG releases an SBrick like profile creator. But for now, I consider this a major downside!
BRICKCONTROLLER2
Lucky for us, there will always be people like @imurvai who invest their time to create cool project like BrickController2, which allows you to control all kinds of LEGO hubs, and thus motors.
https://youtu.be/G4fTGnBA6M0
All in all I am very happy with Control+ and I am looking forward to what the future will bring, but I do need to address that Power Functions still offers more usability and flexibility at the moment.
B-MODEL - ROCKY
Remember the good old days when TLG designed B-models to provide some added value. Those days have been few an far between. Again, lucky for us, we do have an awesome community with awesome members. In this case Eurobricks member @Didumos69 created a remarkable B-model, which I will be reviewing as well. Thanks to Diederik for providing me with instructions. In case you like to build it yourself, the instructions can be found on Rebrickable. We even have a dedicated topic if you like to discuss this model.
As usual, I had my lovely wife Kitty disassemble the A-model. She knows I hate, or rather not like, disassembling models. Thanks babe!
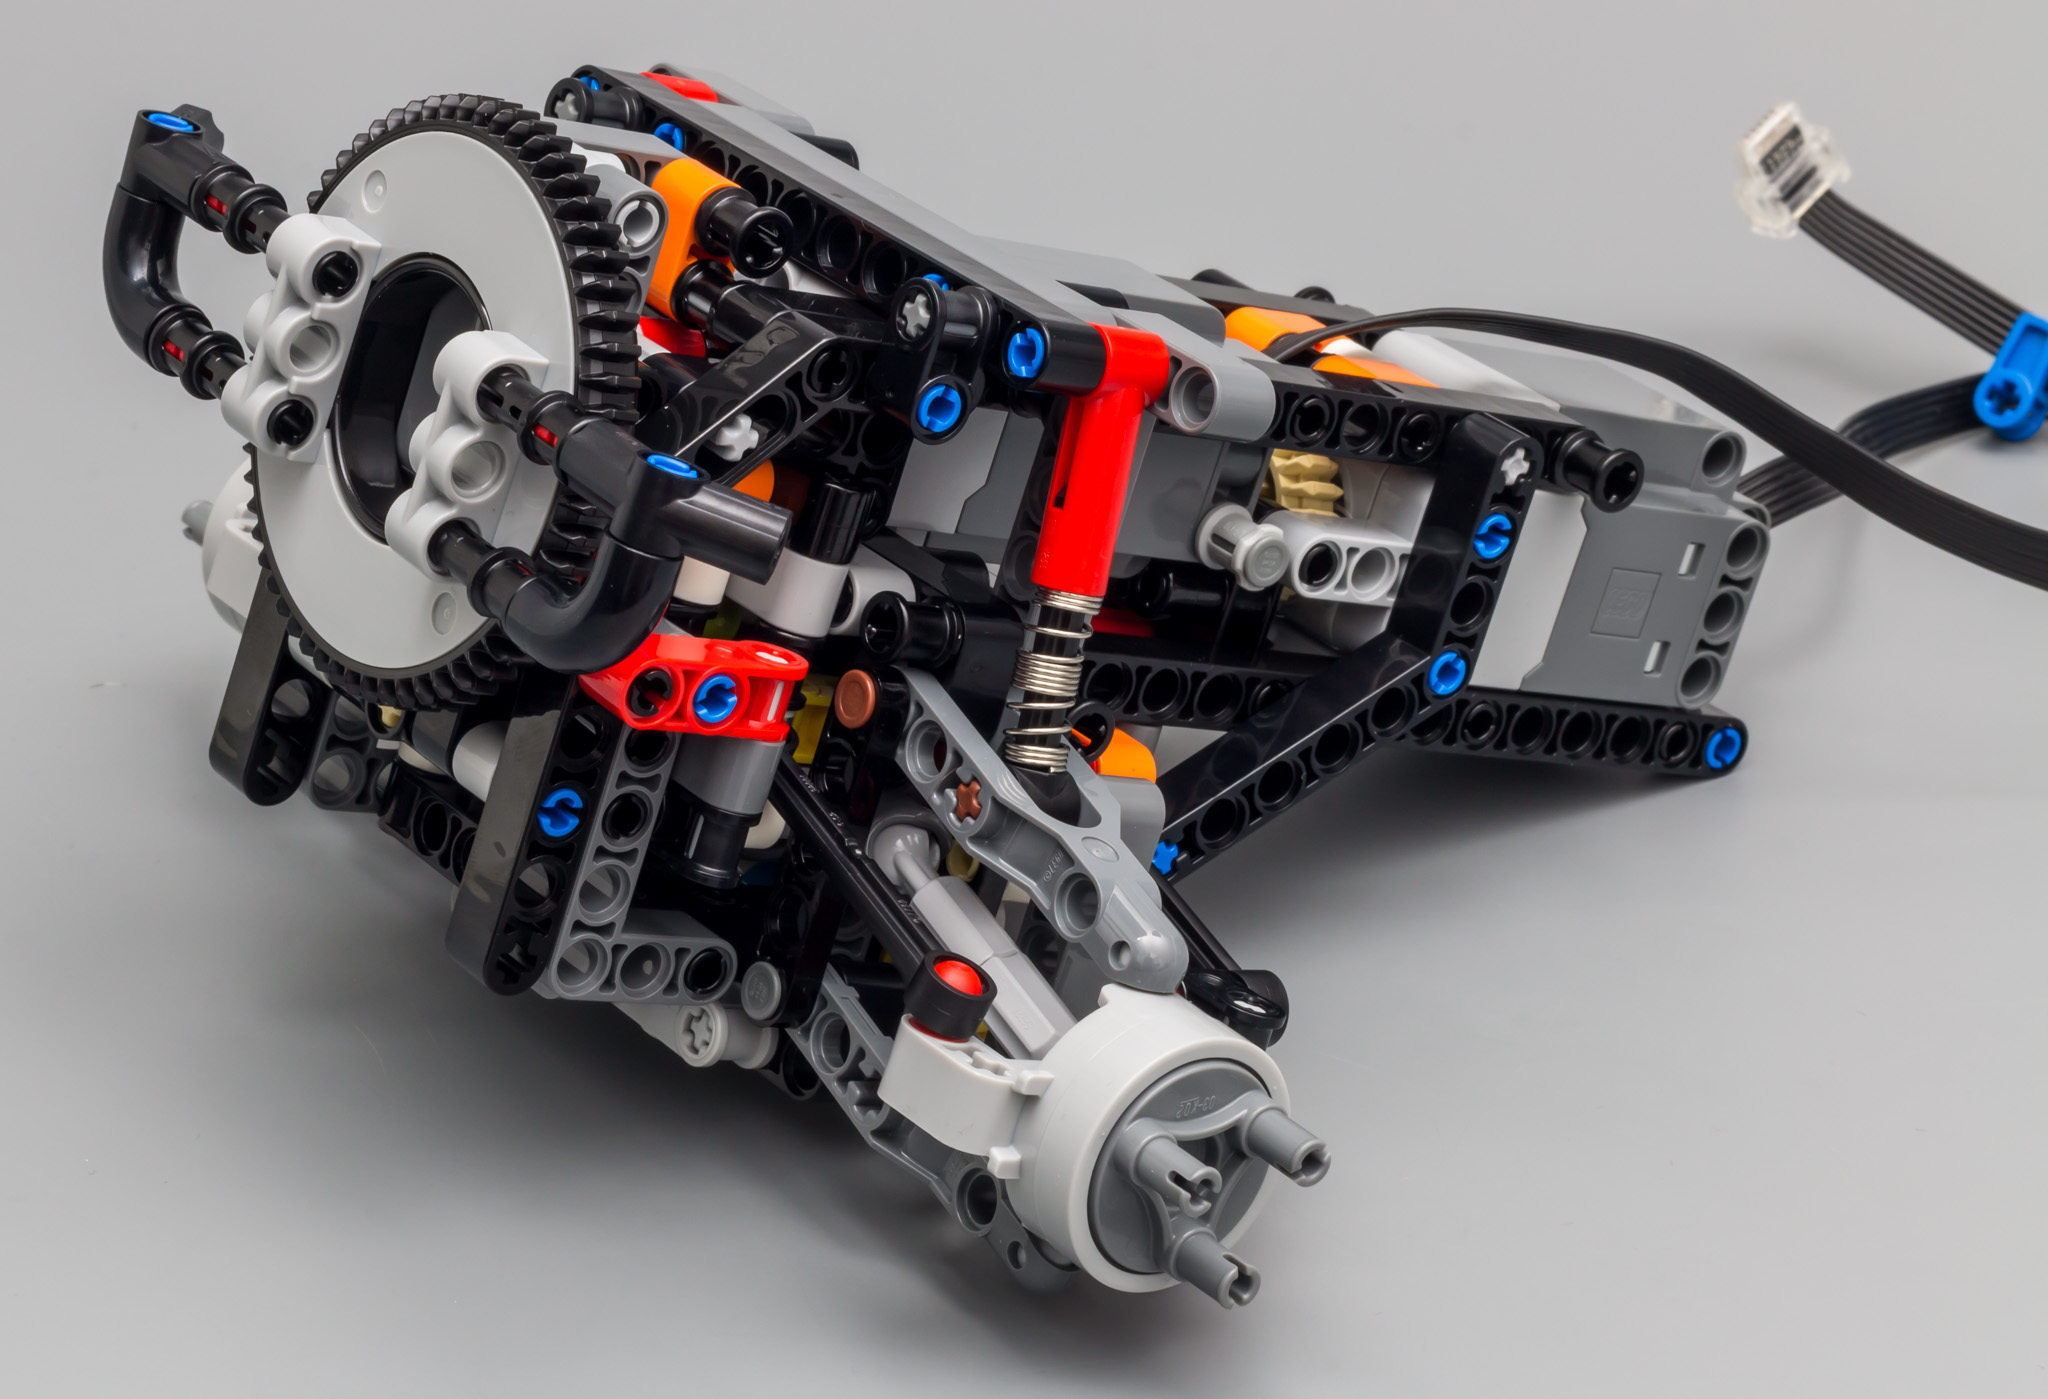
You start by building the middle section, which is kind of the pivot point of the model.

The basic setup is more or less the same as the original crawler, which is not surprising at all. The front suspension contains the L and XL motor, for steering and driving. The front wheels don't have independent suspension. Instead, the entire front carriage is suspended. Since the front suspension is attached to the turntable, it is able to rotate as well.
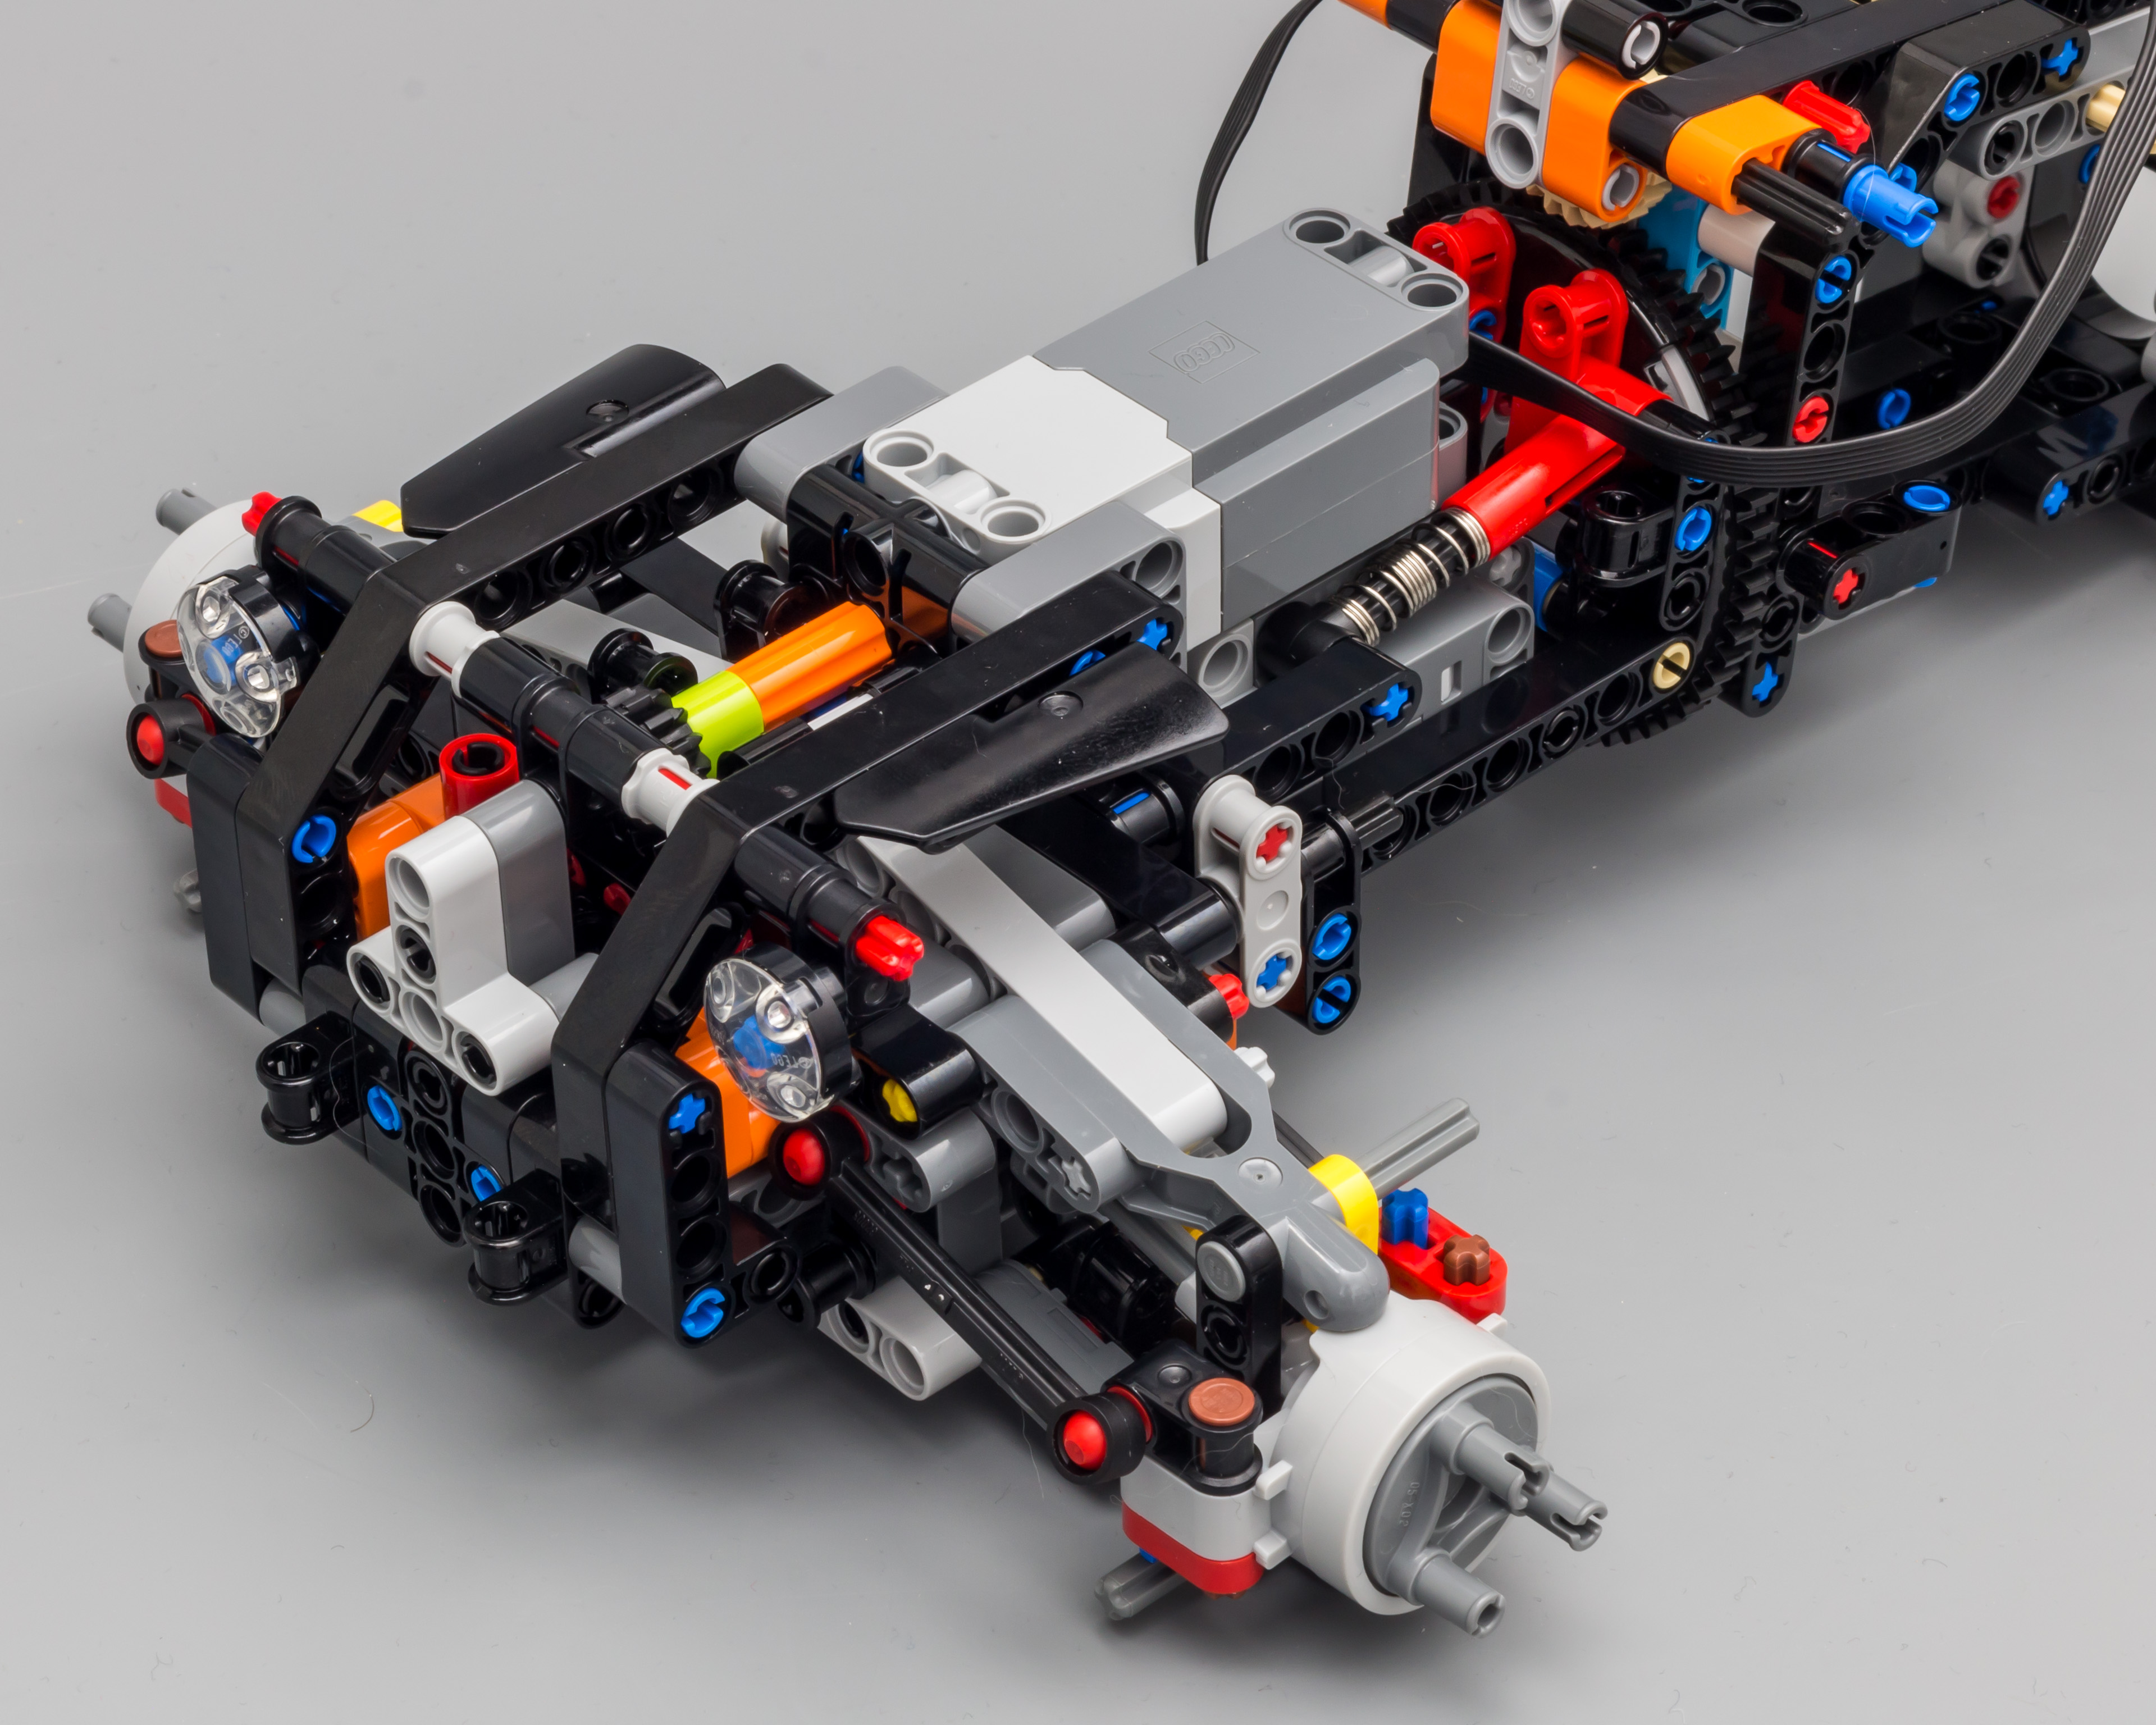
The rear supension is also attached to a turntable, but it only has a single motor, since the rear wheels don't steer.

The picture below shows the finished chassis. The smart hub slides into the middle section, where the wires are attached. The color coded wire clips are well thought out and they are properly used in this model as well.

Due to the limited availability of certain parts, some very minor consessions have been made. But overall, it's a great build and a great chassis!

The bodywork is very limited, but this B-model is not about the bodywork. It's about performance of the chassis. That being said, the bodywork has been designed elegantly. Both sides are detacheable to access the battery box. Detaching, and especially attaching, the sides is somewhat cumbersome because there a lot of pins which need to be attached at the same time. But practice makes perfect so it gets easier over time.

The collection of leftover parts.

This model definitely looks like a proper B-model. Withouht the limited part restriction, this could easily be turned into an A-model. As it is, it's somewhere in the middle between an A-model and a B-model. Please bear in mind that I am talking about the looks, not the performance.

It's worth mentioning that when you test the suspension, the axles going into the motors will slightly rotate. This results in the model not fully returning to its original position. When you drive the car this will automatically be corrected to return to 40% compression again.

The side view shows what a proper crawler looks like, lean and mean! TLG has released several 4x4 off roaders. None of them are officially called crawlers, because they aren't actually crawlers. This is one of the best renditions made with parts from an official set.

Like the A-model I won't be providing a video of the B-model. I can recommend watching two cool videos, one by Diederik himself and one by RacingBrick. Of course, I did test the performance of this model. It's impressive to say the least. It could actually drive up the back of my couch, before it fell over hehe.
I definitely recommend getting the instructions and build this B-model. You will have tons of fun with it. Probably more than with the official model :wink:
SUMMARY
I am glad to see TLG constantly improving and maturing the Technic product line. The popularity of SBrick and Buwizz made going down the smart hub road a no-brainer. And I am glad the TLG thinks the same way, and that they are not ignoring RC products. However, I do hope that we will still get big models with manual controls instead of an elaborate line of Control+ sets. Hopefully, TLG will find the right balance to keep pleasing AFOLs as well.
Control+ needs to mature before being able to fully compete with third party controllers. The lack of custom profile creation is a major drawback. Comparing Control+ with Power Functions, the form factor of the new motors is stellar, but the lack of custom profiles makes it very hard to use Control+ in a MOC. And the need for a smart device is limiting as well. Control+ is a very cool product line and I am looking forward to what the future brings, but at the moment Power Functions are more versatile.
Overall I like this set, but I do think it's better to fork out some extra cash and get the Liebherr.
PROS
- Cool design, even without stickers
- Body can be easily attached and detached
- Control+ motor form factor is out of this world
- Wire connectors are spot on
- New bright light orange
- New planetary hubs (and new CV Joints)
CONS
- Performance is so so
- Control+ performance isn't significantly better than PF
- No custom profiles for Control+ hub
- No additional features, besides its off-road capabilities
- No official B-model
- Value for money feels off
SCORE
SCORE
How do I rate this set?
9 DESIGN

Cool design, even without stickers.
7 BUILDING EXPERIENCE

Decent build, but no gearbox or other Technic assemblies.
7 FEATURES
No additional features, besides its (limited) off-road capabilities.
7 PLAYABILITY
Can be fun when creating an off-road parcour.
7 PARTS
New bright light orange parst, CV joints, hubs and Control+ elements.
6 VALUE FOR MONEY

The value for money feels off, compared to the Liebherr
7,2 HOPED FOR BETTER PERFORMANCE